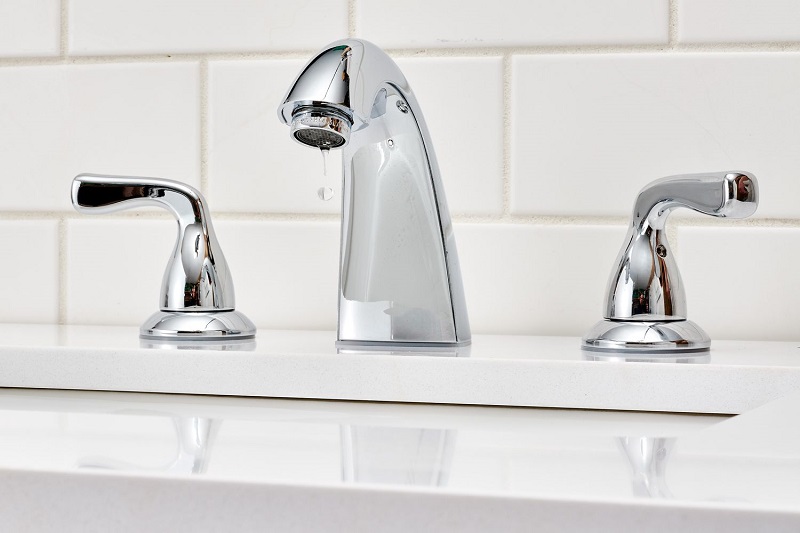
Have you ever encountered a stubborn faucet handle that just won’t budge? Whether it’s due to wear and tear or a need for repairs, removing a faucet handle doesn’t have to be a daunting task. In this guide, we’ll walk you through the process, step by step, so you can confidently tackle this DIY project. Let’s dive in and discover how to remove a faucet handle quickly and efficiently. This article is presented by Esscnyc.com.
1. Turn Off the Water Supply
Before you begin any work on your faucet, it’s crucial to turn off the water supply. Locate the main water source for your home and shut it off. This prevents any accidental water leakage or spraying while you work on removing the handle. Let’s discover the steps to remove shower handle.
2. Locate the Secure Screw
Examine the faucet handle closely to find the screw or set screw that secures it to the faucet. This screw holds the handle in place, so identifying its location is essential. Depending on the faucet type, you might find the screw on the top, underneath a decorative cap, or concealed behind a cover plate.
3. Remove the Secure Screw
Once you’ve pinpointed the screw, use an appropriately sized screwdriver or wrench to carefully remove it. Applying steady pressure, turn the screw counterclockwise until it’s completely loosened. If the screw is particularly tight, applying some penetrating oil can help ease its removal.
4. Lift Off the Handle
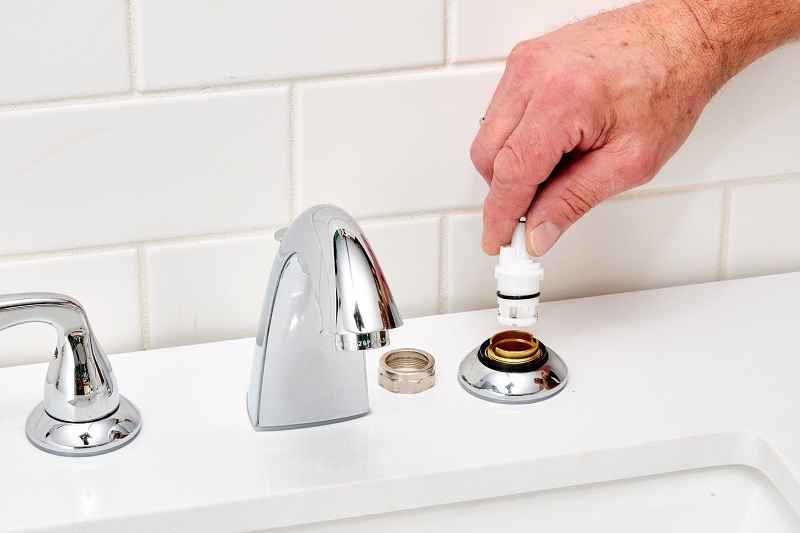
With the secure screw removed, gently lift the faucet handle away from the base of the sink. In most cases, the handle should come off relatively easily. However, if it’s stubborn, you can use a faucet handle remover or pliers. Be cautious with pliers to avoid scratching the faucet’s finish.
Remember, faucet designs may vary, and these steps are general guidelines. If you encounter any challenges or uncertainties, consulting the manufacturer’s instructions or seeking professional assistance can be beneficial.
Removing a faucet handle is a manageable task that you can tackle with a bit of know-how and the right tools. By following these steps, you can successfully remove a faucet handle and address any issues you may be facing.
Conclusion
Taking control of simple plumbing tasks like removing a faucet handle can save you time and money. With a few basic tools and a little guidance, you can accomplish this task without the need for professional help. Remember to exercise caution, turn off the water supply, and proceed methodically. By doing so, you’ll maintain the functionality of your faucet and ensure it serves you well for years to come.
Frequently Asked Questions
Q1: Can I remove a faucet handle without turning off the water supply?
A: It’s highly recommended to turn off the water supply before attempting to remove a faucet handle. This prevents water leakage and ensures your safety while working.
Q2: What should I do if the screw is stuck and won’t come out?
A: If the screw is stuck, applying a lubricant or penetrating oil can help loosen it. Be patient and avoid using excessive force to prevent damage.
Q3: Are all faucet handles removed using the same steps?
A: While the general steps are similar, different faucet models may have variations in screw placement and handle removal methods. Consult your faucet’s manual for specific instructions.
Q4: Can I use pliers to remove the faucet handle?
A: Yes, you can use pliers, but be cautious to avoid scratching the faucet’s finish. Using a faucet handle remover is a safer alternative.
Q5: When should I seek professional help for faucet handle removal?
A: If you encounter significant resistance, are unsure about the process, or lack the necessary tools, it’s best to consult a professional plumber to avoid potential damage.

