

When planning the electrical installation of a building, it is normal to have different points of light. To activate them, it is usual to have different commutated switches, so that we can turn the same device on and off from different places. Do you want to find out how to switch switches? We give you the instructions below.
How to switch switches step by step
First of all, it is convenient to review the difference between a simple switch and a switch. Switches allow a device to be operated from a specific point. The switches offer us the possibility of activating the same point of light from different places. In this sense, switches can offer multiple advantages, but their installation is more complex than the installation of a simple switch.
It is important to have prior knowledge of electricity and electrical diagrams. Beyond the possible difficulty of the project itself, it is also necessary to have a series of necessary materials.
Materials and tools
Pliers – Screwdriver – Toggle switches – Cables – Corrugated electrical tube – Universal boxes.
To what we have just mentioned, it is convenient to go a little deeper into the different types of cable that we are going to handle. They will normally be the following:
- Phase wire: It is usually brown, black or grey.
- Neutral wire: Blue
- Earth cables: Green and yellow.
Remember that, in addition to knowing all these data, when working on any electrical installation, it is essential to exercise extreme caution, since an accident could be serious.
1. Prepare the circuit breaker schematic
As we have already indicated, the objective of switching switches is to be able to activate the same point of light from two different places. Therefore, you need two switches placed at the points from which you want to turn the light on or off. Drawing up an outline can help you better distinguish the facility.
Two cables are connecting the switches. Normally brown, black or grey cables are used, and it is recommended that they be the same color. The connection is carried out with a junction box: the cables are inserted into the corrugated tubes to connect the junction box with the switch box.
If the distance between the points is too great or the building installation requires it, it may be necessary to use more than one junction box.
There is a third wire for each of these switches: both phase and neutral depending on the installation:
From one of the switches, a black, grey or brown wire will come out that connects to the junction box in what corresponds to the phase line (L).
From the other switch, a black, grey or brown cable will come out that goes to the lamp or the device that you want to turn on.
The point of light to be activated will receive a third neutral wire, which is usually blue, which comes through the corresponding junction box.
2. Prepare for installation
Before starting the installation, take the appropriate security measures:
Cut the power to avoid accidents.
Avoid touching electrical cables, plugs, or appliances with wet hands or without shoes.
Try to use insulated tools.
If you are going to use two switches already installed, first of all, you will have to check that they are switches and you will have to disassemble the mechanisms and include the new cables that will connect these switches.
3. Connect the switches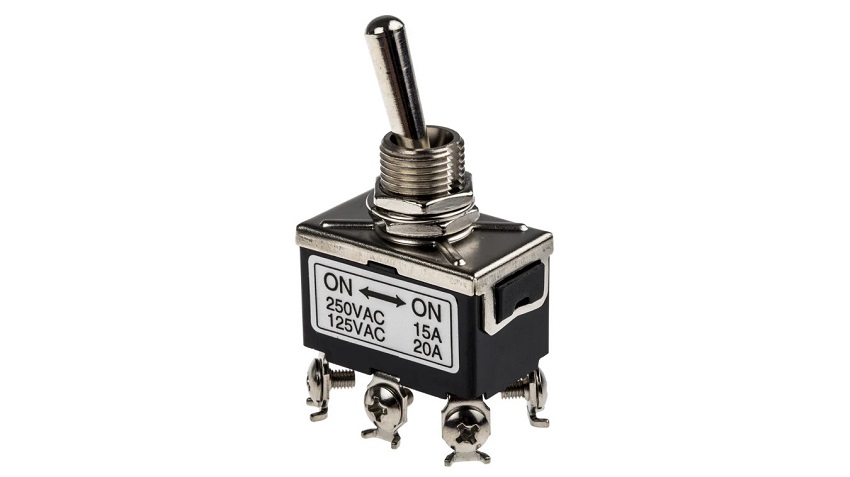
This is the part that will determine if the installation works or not:
Use a cable guide to attach the switches. If there is a long-distance, the connection can be made through two junction boxes.
Connect the two switches in the junction boxes.
When you notice the guide sticking out of the second box, mark the other end of the guide with electrical tape and pull until it reaches the other side. In this way, you can measure how many meters of cable is necessary to connect the switches, although it is always convenient to have a little more.
Join the cables and connect them with the cable of the light point.
Next, you will have to run the cables through the junction box.
The next thing to do is cut the cables to size in each of the boxes and strip them to be able to make the connections: the two brown cables are connected to the two common outputs. On the other hand, the terminal marked with an L (phase line) will be the one where you must insert the black, grey or brown cable. In any case, keep in mind that each manufacturer may have its way of indicating where the third wire goes.
To finish, you have to connect the third wire to the switches: one of them will go to the phase line and the other to the light point.
4. Make the last checks
To finish, it is necessary to put back the trim frames of both mechanisms and connect the light to check that everything works correctly. And now you can enjoy your switched installation!
Other installations with switches
In this guide, we have offered you the instructions to carry out a basic installation in which you want to switch switches. However, it is not the only possibility:
The switched light point with plug: This type of installation is usually used for lighting the bedside table lamps. The neutral wire (blue) runs from the lighting line to the light point. The phase wire (black) runs from the base of the lighting plug to the common of one of the switches. There is a third wire that goes from the light bulb to the other switch, and then the two wires that link the switches together.
Installation switched from 3 different points: The difference between the installation that we have already seen and this is that the cables between switches no longer directly connect switch 1 and 2. Still, there is a third crossover switch in between. And when the installation is from 3 points and with a plug, the same thing happens: the cables between the switches go through an intermediate crossover switch.
To carry out a switched installation from more than 3 different points, it is necessary to add as many crossover switches as necessary.
Tags: DIY, electrical installation, electrical switches, electrical wiring, home improvement, installation guide, step-by-step tutorial, switch installation, toggle switch, toggle switch wiring


Leave a Reply